Showing posts with label Nails. Show all posts

Monday, October 22, 2012

Make a wish!

Everyone's made a wish on a dandelion before but how about having the opportunity to make a million wishes from one dandelion? A dandelion their nails? I tried to create a nail design that would mimic this action. Hope you like it! :)
Say, what nail polish is this?
Gray-OPI's French Quarter For Your Thoughts
Mint- Sally Hansen's Mint Sorbet


With Love,
         Christine

Tuesday, August 7, 2012

USA nails

My eyes have been glued to the screen watching team USA in the Olympics this entire week. Among my favorite athletes are Missy Franklin, Gabby Douglas, and of course Michael Phelps; Congrats to all! I have to say though, I noticed all the women in swimming had their country's flag painted on their nails. So in order to support the U.S. Olympic team, I made this nail diy so that you can support team USA as well! :D
A picture is worth a thousand words so I thought it would save some time explaining the process. :P
What I used:
Tape
Stars(you can find these on Ebay)
*Toothpicks and water (easy application of the stars) 
   Dip one end of the toothpick into the water and pick up a star, apply the star to the nail and use the dry end of the pick to push and position the star into place.
Red: The Thrill of Brazil by OPI
White: Chill by Maybelline 
Blue: Russian Navy by OPI
Top Coat (seals the stars so they don't fall off!)


With Love, 
        Christine

Friday, June 1, 2012

Glittered Nails

You don't have to always do a crazy design on your nails. Take a break and do something simple. You wouldn't want all your creative juices gone after a couple of nail designs!

I painted my nails with two coats of from For Audrey from China Glaze and then I put Spot Light from NYX Girls over it. Make sure the glitter is spread out and don't pile on too much of the glitter. You want them to notice the color too! Also, take it easy with the glitter because it takes forever to clean them off your nails.
With Love,       
          Christine

Tuesday, January 24, 2012

Triangle Flip Tips

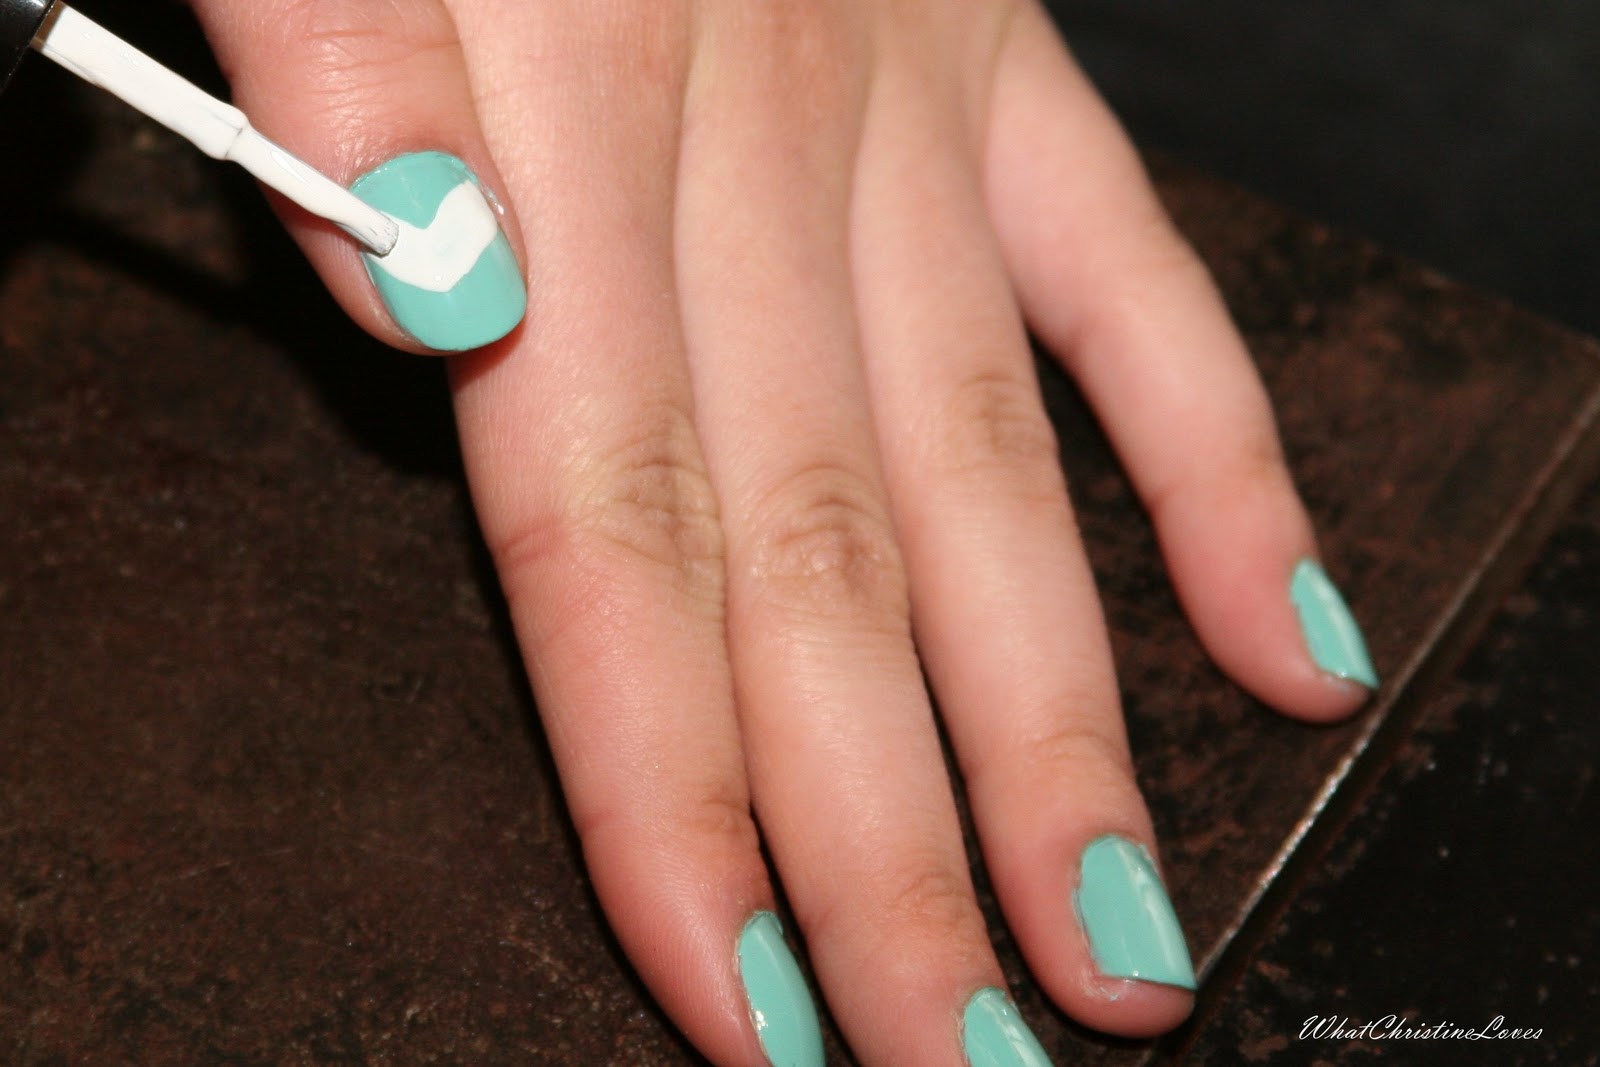
I have a secret obsession with triangles, and it's not solving for their areas! I think they're fun and simple, they can also make a huge statement. When doing nail designs, I prefer putting light colors on top of a darker base because when viewing the nails from a distance, it isn't as overwhelming as dark on light. We have all seen the inverse french or "moon" manicure, now to put my obsession for triangles into the mix! Scroll down for steps for this nail design.
1. Paint your nail with a medium to dark polish as the base.
2. For the thumb: use a white polish, place the brush onto the center of the nail and drag up towards the base and end at the side. Finish by drawing V's with a thin nail art polish, on top and bottom of the large V you just drew.
3. For the others: use the thin nail art polish, place the brush onto the center of the nail and drag the brush towards the base of the nail. End your stroke where the cuticles end on either side. Fill in this V shape with the white polish to create a triangle. Follow the lines of the triangle with the thin nail art polish on either side of the triangle until the strokes meet.
4. Clean the skin around your nail with polish remover if you need to.

With Love,       
         Christine

Wednesday, November 2, 2011

Cotton Candied.

When it comes to my nails, I want them to be unique. I decided to combine contrast colors, by doing this, they make each other stand out more visually. The pink really pops out against the blue! The colors I used for this cotton candy look were Sweet Memories from OPI and For Audrey from China Glaze. Painting one finger out of the five a different color automatically bring your eyes to that one digit. I chose to paint my ring finger pink because it draws more attention to the rings I wear!


With Love,
        Christine